Monday, January 27, 2014

Valentine Fortune Cookies DIY

Valentine Fortune Cookies DIY 


Kim and I saw something like this on Pinterest but they were very complicated so we decided we needed to find an easier and better way. Kim with her smarts came up with a very clever and easy plan. We made nine of them in less than 20 minutes and had a lot of fun coming up with the fortunes! The hardest part of it was coming up with the fun fortunes but lucky for you we created a list for the different people in your life. Enjoy!

Items Needed:

* most of these items can be found at your local craft store
  • An assortment of foam circles- you can buy pre-cut circles or cut your own from a sheet of foam
  • Small glue dots
  • Candy (kisses or hugs work great) or money to put inside
  • Paper cut into strips

Simple Directions  

  1. Fold the circle in half.   (It will look like a taco shell) 
  2. Then you push the closed side of the circle in the middle. (It will instantly take the shape of a fortune cookie.)
  3. Place a small glue dot where the two sides meet. Make sure it's not to far back or you will make the cookie stay open.
  4. Stuff some yummy candy in the cookie. Go with chocolate...yummmm!
  5.  Write or type out some fortunes. (see the list below)
  6. Fold the paper in half and shove it in the cookie.  
  7. Hand to your favorite person.


Push center


Putting on the glue dot


Fortunes for your Partner

  • In control of the remote one night
  • A sexy back massage
  • Romantic dinner for two
  • Fondue night
  • Lunch at your favorite restaurant
  • Dishes done without complaining for a week
  • Snuggle up with me
  • 30 kisses given in 30 different places  

Fortune for your Child

  •  A play date of your choice
  • Three books at bed time
  • Cuddles with mom and dad
  • Dessert for dinner  
  • Chuck-E-Cheese dinner date
  • Popcorn and a movie

Fortune for your Friend

  • Girls/Boys Night
  • Free beer/wine/drink
  • Day of golfing
  • You pick the movie
  • Get out of jail free card

Mad Libs Valentine Cards

Mad Libs Valentine Cards

Kim and I were talking about making our students Valentines cards this year and Kim remembered an easy creative idea she had seen in last years Family Fun magazine. We took a look at it and decided that we could improve on it a little. Kim suggested adding a pencil because her students ALWAYS need one. So we went to the local craft store and bought enough stuff for 60 students and it was all under $20,  a perfect price for two teachers!

Materials

  • Special dollar bin pencils
  • Mad Libs
  • Heart punch outs
  • Cute String
  • Red, pink, and white doilies

Steps

  • Cut apart the Mad Libs.
  • Fold the Mad Lib so you only have 1 inch not doubled up. 
  • Place the pencil at the bottom and roll tightly.
  • Place the doily on the outside of the Mad Libs and roll up.
  • Put a very small piece of tape to hold it all together.


  • Next write a message on the heart. Examples: MAD about you! You have MAD skills!
  •  Punch a hole in the corner of your heart and tie a string around the pencil.  


 And, Voila! You have easy and practical Valentines to hand out to your students!

Allon-sy!
The Girls of Gallifrey


Friday, December 6, 2013

Cranberry Lime Infused Vodka

This year I decided to make all of my Christmas presents- and what better gift to give then infused vodka! Hopefully Carly will act surprised when she gets hers!  It is super easy to make, looks very festive, & tastes delicious!


Want to make your own? Here it goes...

What you need:
-1 bag of cranberries per bottle
-2-3 limes per bottle (I used 3 per bottle because I wanted more green to show)
-Vodka of your choice (you will use approximately 2 1/4- 1/2 cups per infused bottle)
-Sugar
-Bottles: I found mine at IKEA (sterilize using hot water)
-Holiday music (optional) 


Start by turning on your holiday music! I enjoyed listening to the album "The Puppini Sisters- Christmas with the Puppini Sisters" as I worked.

Using a sharp knife,  poke a hole in each cranberry. Yes, I know it sounds like a lot of work, but it seriously takes no time at all.

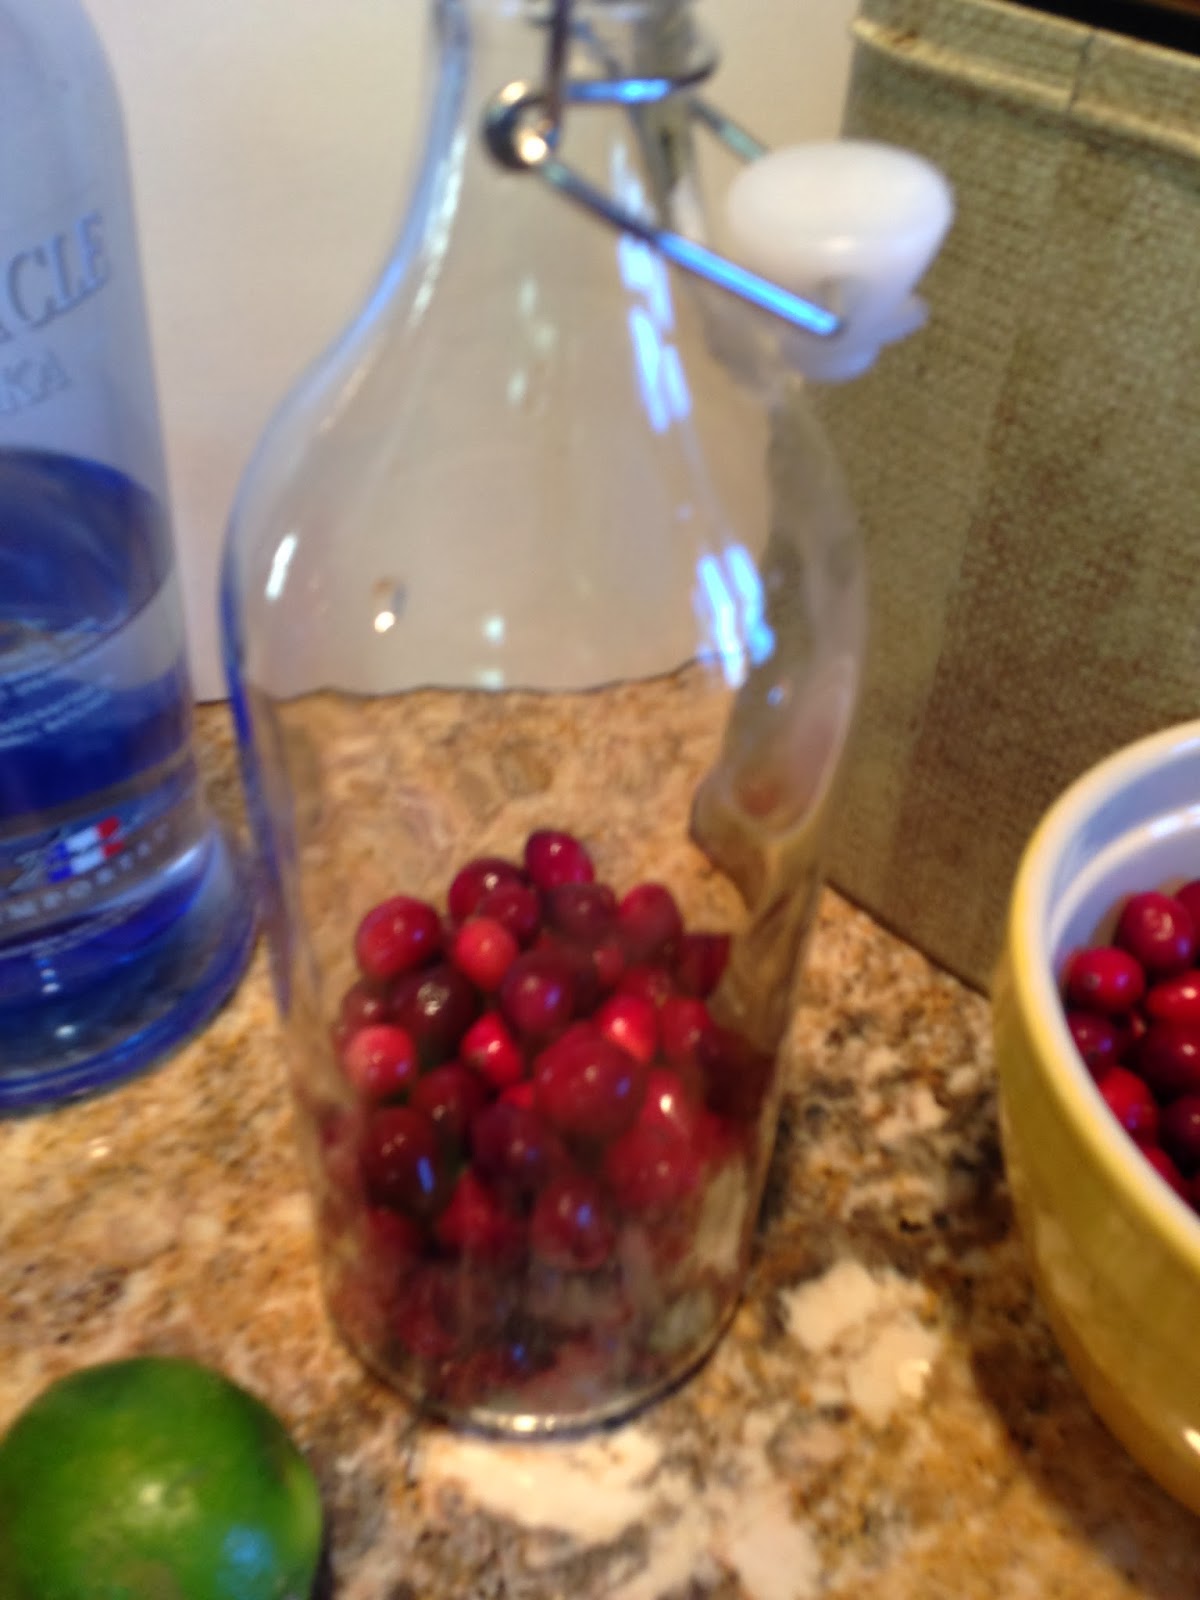
Fill the jar 1/3 full with cranberries. Next, using a knife, peel off the rind of one lime in long strips and place it in the jar.  Top with another layer of cranberries, then more lime rind. Finish filling the jar with cranberries. I had 3 layers alternating with cranberries and limes.


Next, you will want to add a bit of sugar to cancel out the bitterness of the cranberries. You don't want to make the vodka too sweet so add slightly less than 2 TBSP of sugar (less if you have a small jar). I used a funnel to pour in the sugar.


Again, using the funnel, pour the vodka into the jar. I first measured 2 cups and poured in. Then added another 1/4th cup. You may need to add up to a total of 2 1/2 cups to fill the jar. Seal the jar, then give it a good shake.


Be sure to give the jar a good shaking every day or two to make sure that the sugar is mixed throughout. You can let your infused vodka sit anywhere from 2 weeks to 2 months. The longer you leave it, the sweeter it will be.


You can use your Cranberry Lime Vodka in some delicious mixed drinks or serve mixed with club soda.

Gifting: Add a cute gift tag with a cocktail recipe (see below).  You may even want to include a shaker and a fun martini glass! I noticed some cute shakers in the dollar bins at Target.

Crantini
1/2 oz. Triple Sec
1 1/2 oz. Cranberry-Lime Vodka
4 oz. Cranberry Juice
1 tbsp Frozen Limeade Concentrate {optional}

Mix together in a martini shaker & shake well.
Serve in a martini glass, garnished with cranberries & lime zest.
Enjoy!

Allons-y!
The Girls of Gallifrey 

Monday, November 25, 2013

Doctor Who Baby Names

Have found your self pregnant and wanting an epic baby name?  A name that shows kindness, compassion, bravery, and strength...naturally you think of The Doctor. Here is a list of names perfect for your baby!  Your baby will love any of these names...  know how I know that? I speak baby. Enjoy!

Companion Names

Doctor 1

  • Susan
  • Barbara
  • Ian
  • Vicki
  • Steven
  • Katarina
  • Sara
  • Dodo
  • Polly
  • Ben

Doctor 2

  • Polly
  • Ben
  • Jamie
  • Victoria
  • Zoe
  • Brigadier

Doctor 3

  • Liz
  • Jo
  • Sarah Jane

Doctor 4

  • Sarah Jane
  • Harry
  • Leela
  • Romana
  • Adric
  • Nyssa
  • Tegan

Doctor 5

  • Adric
  • Nyssa
  • Tegan
  • Vislor
  • Kamelion
  • Peri

Doctor 6

  • Peri
  • Melanie or Mel

Doctor 7

  • Melanie or Mel
  • Ace  

Doctor 8

  • Grace

Doctor 9

  • Rose
  • Tyler
  • Adam
  • Jack

Doctor 10

  • Rose
  • Mickey
  • Donna
  • Martha
  • Jones
  • Astrid
  • Sarah Jane
  • Jackson
  • Rosita
  • Lady Christina
  • Adelaide
  • Wilfred  

Doctor 11

  • Amelia
  • Amy
  • Pond
  • River
  • Rory
  • Canton
  • Craig
  • Clara
  • Oswin
  • Oswald  

Torchwood Names

  • Gwen
  • Cooper
  • Jack
  • Ianto
  • Toshiko

Great Characters

  • Stormageddon, Dark Lord of All a.k.a. Stormy
  • Alfie
  • Vincent (As in Van Gogh) 
  • K-9
  • Bode (As in the Face of)
  • Winston (Churchill)
  • Elizabeth (Queen)
  • Idris (The T.A.R.D.I.S) 
  • Sally

Other Names

  • John Smith

Real Doctor Names

  • William Hartnell
  • Patrick Troughton
  • Jon Pertwee
  • Tom Baker
  • Peter Davison
  • Colin Baker
  • Sylvester McCoy
  • Paul McGann
  • Christopher Eccleston
  • David Tennant
  • Matt Smith

Please be sure to leave us comments letting us know what name(s) you choose for your offspring!
Geronimo!
Carly & Kim

Monday, September 2, 2013

Three Cheese Gluten Free Quiche

My husband loooooves quiches. He could eat them four days a week. I could not however, but with quiches you can add whatever veggies or cheese you want and it make a different meal each time.  I found an awesome recipe for a low Glycemic index quiche and I make it all the time! I have also made this quiche gluten free and meat free.  I try to go meatless at least one day a week and quiches lend themselves to this. Don't get me wrong, I will sometimes add meat but this is a healthy meatless meal. This is also an easy make ahead meal for those busy work weeks.

Here is what you need:

1 pie crust ( If you use gluten free crust, they are smaller, so you will need to buy two crusts)
1 cup of cottage cheese
1 cup of shredded cheese ( I like to use swiss, cheddar, or blends)
1/4 cup of parmesan cheese, grated
4 eggs, beaten


Crust, mushrooms, cheese, eggs, cottage cheese, and spinach


Optional 
Veggies  (spinach, mushrooms, onions, and anything that sounds good.)
Meat  (bacon, crab, sausage, etc.)

Here is what to do 

  1. Bake the pie crust according to the directions on the package. Don't forget to poke holes in the crust so it doesn't bubble. It usually takes about 10-15 min to cook the crust. 
  2. Mix all ingredients together. 


      3. Bake at 350* for 45-50 minutes.


        4. Let cool for 10 minutes and enjoy! (If you want to save this for a work night let it cool and    wrap it up and just reheat in the oven.)

Yummmm


Saturday, August 17, 2013

School Birthday

School is on it's way and ideas are starting to overload my brain. This is a simple and fun way to celebrate birthdays. Find some music from iTunes, the library, or in your collection of music that was popular the year your students were born. Just be prepared to be a little sad that the music you still like was made when they were born. My group of third graders will need music from 2004-2005. I play the music when we are eating birthday treats! I also try and not play the same song for every birthday so it is nice to have a  CD with a handful to pick from.

Best Jam of 2004- Milkshake By Kelis


Best Jam of 2005- Since U Been Gone by Kelly Clarkson 


When I say run, run...... RUN
             The Girls of Gallifrey


Wednesday, July 10, 2013

Caution... Girls with paint brushes!

Painting your new cornhole boards

This is where the project gets fun, well, as long as you don't decide to paint the chevron pattern. Don't get us wrong, we love the chevron pattern and think it looks super cool! But it involved way to much math for our mushy summer brains. 

These are the painting products we used to paint our cornhole boards:
  • semi-gloss latex paint with primer – 1 quart of each color (some people use high-gloss)
  • painter’s tape
  • Paint rollers
  • Paint brushes
  • Paint tray
  • Plastic tarp or cloth to paint on
  • Sidewalk chalk or a pencil (if you decide to attempt the Chevron)
Kim showed Carly an easy trick by placing a plastic bag around the paint tray so we could reuse the tray without having to wash it out out. Nice one Kim! We were going for a summer coastal theme so we picked out three colors, cream, coral, and teal. 

First we painted our base coat with a roller. We went with cream for the base coat and needed to do two coats to cover up the wood. We didn't put the paint on thickly and we live in a dry climate in the summer so the paint dried fairly fast. As you know, watching paint dry can be a bit boring, that is where the beer comes in! We painted the entire board including the edges in cream. Don't forget to paint the inside edge of the circle as well.
Painting the base coat

If you want to keep things simple, you can keep the edges cream (or your choice color of base coat) we would highly suggest taping the around the edges once the base coat is dry, so that way your paint doesn't drip down when painting your design. 

Remember in the last post when we said we were overly ambitious? That is where painting the chevron comes in! Again, don't get us wrong, it looks super cool and we looked up a couple of different ways to do the chevron pattern on Google. We decided to use a coordinate grid method. We divided the board into four sections across and four down using sidewalk chalk. Then we used painters tape to create the mountain peaks for the pattern. We also chose to paint alternating the 3 colors (the cream of course was the part under the tape). We will however let you do the rest of the math if you choose to use the chevron pattern. As you can see, we only have one cornhole board with a chevron pattern, we found it extremely frustrating.

Creating the coordinate grid (note the highly needed beer in the background)

The chevron taped off

The painted chevron

For the other boards we went with a much easier design, horizontal and vertical stripes. We didn't want them to be traditional so our stripe sizes varies. We went for a beach towel look alternating the stripe widths and colors.

Vertical stripes

Horizontal stripes

We kept this simple by placing the painters tape on the edge of the board where we wanted the stripe and just brought it straight down or to the side. 

We painted the stripes in with a brush. We had to use two coats for our stripes to cover up all the base coats.

After the paint dried, it was fun to peal back the tape and see our final result! We think they turned out well!
Pealing off the tape (note the chevron edge- pretty huh? Nope! Use tape on the edges to keep them clean)
The final result!


The final step to complete the cornhole game was sewing the bean bags. This was probably the easiest part of the whole process! Okay, not probably the easiest part, it was the easiest part. And this time I made Carly use the sewing machine after all, I had used all the power tools! We aren't going to go into details on how to use your sewing machine, so hopefully you know how.

Here are the supplies:
Supplies

  • 5/8 yard of 2 colors of fabric (Duck Cloth or VERY sturdy outdoor fabric*) this makes 16 bean bags (8 of each color)
  • Sewing machine
  • Coordinating thread
  • Rotary cutter or scissors
  • Ruler
  • Pins
  • Funnel of paper rolled into a funnel
  • 2 cup measuring cup
  • Tub to catch raining popcorn kernels
  • Popcorn kernels (4- 64oz bags for 16 bean bags) (but officially you should use Feed Grade Dry Corn)
*The first orange fabric we used wasn't quite a thick as the teal and started to come apart when we first played. We had to purchase new orange and start again.

Start by cutting 7x7" squares of fabric, you will need 16 squares of each color (for the 2 cornhole sets). Place right sides of fabric together and pin around the square leaving a 1 1/2" opening.
7x7" Square

Be sure to use the correct foot for zig-zag stitch and set your machine to a zig-zag stitch. Sew around the square using a 1/4" seam allowance leaving the 1 1/2" opening to turn and pour the popcorn into. Be sure to back-stitch at the start and end of your stitches!
Look! Carly is sewing!

Trim the corners slightly and turn right side out using your fingers to carefully push out the edges.
Turned out bean bag

Measure 2 cups of popcorn and using your funnel, fill you bag. One 64oz bag of popcorn kernels should fill 4 bean bags. Turn the edges of the hole under and pin. We also used a pin to hold the corn back from the machine as we stitched. Stitch the hole shut (still using zig-zag stitch) making sure to back-stitch to ensure your bean bag is securely closed.
2 cups popcorn kernels
Paper funnel
Filling the bean bag
Note the vertical pin holding the corn back from the needle
Sewing the hole closed


Be sure to test your bags before you have your first gathering to ensure your bags are sturdy enough!

TaDa!

Now you are officially ready to enjoy your new cornhole game!
Party on dudes!
The Girls of Gallifrey