Thursday, June 27, 2013

Pineapple Salsa

Hey Readers! This is Carly. Recently, I went to a Mexican restaurant and had a great pineapple salsa, but I wanted more salsa and more pineapple out of the dip. So I decided to get creative and blend up my own! My salsa is very pineapplely (is that a word) and has no chunks (just the way I like) but feel free to add less pineapple or hand mix it for a different taste. 

Ingredients:

  • 1 medium size pineapple (I used 3/4 of the pineapple)
  • 3 deseeded medium tomatoes
  • 1/2 of a white onion or sweet onion
  • 1 spoonful of chili garlic sauce
  • Palm full of sea salt
  • Food processors (optional)
  • Pineapple slicer (not necessary, but it is a life saver!)


 Directions:


1. Cut your pineapple. I bought this fancy pineapple cutter from Pampered Chef awhile back and I use it all the time. It's a time saver and arm workout in one. Not to mention, that it makes the pineapple easy to slice and save.


My husband was cutting this one so I could take a picture. :)


2. Put the 3/4 of the pineapple in the food processor and pulse for a few seconds.

3. Peel and cut the onion in 1/2. Place 1/2 of the onion in the food processor.

4. Add the salt.

5. Add the spoonful of chili garlic sauce.


Looks like I decided to add an extra spoonful or sauce.

6. Deseed the tomatoes. I had never done this before so I looked up the how to on YouTube. It was very easy to do. Cut the tomatoes in 1/4th and use a sharp knife to cut the seeds out.


7. Place the tomatoes in the food processor and pulse for 10 seconds.


8. Taste and add more salt or chili garlic sauce if needed. Make sure you are careful because step 9 will increase these flavors.

9. Put the salsa in the fridge over night. This helps the flavor get stronger and adds more spice flavor to it.

10. Serve with your favorite tortilla chips and chow down! Try to share with others (if you can)! Enjoy! 


Doctor Who Drinks Part 1

The T.A.R.D.I.S
This drink is perfect for a wibbly wobbly timey wimey gathering of your companions. It is a sweet yet refreshing drink that is great for summer time. Our recipes was for small two smaller size drinks.

What you need:
  • Strawberry Vodka (1 large shot)
  • Lemonade (2 cups)
  • Blue Curacao (1 large shot)
  • Ice (2 cups)
Direction:

We added all drink ingredients in a blender. Mixed until the ice was slushy. After having The T.A.R.D.I.S  we decided that next time we would either add more ice to make the drink more slushy like or just solid ice cubes. Enjoy!


The Weeping Angel Shot
This shot is perfect to enjoy with a friend. It is a little sweet and strong at the same time.  While you are drinking this shot DON'T BLINK! If you blink you die or maybe you have to pay for the shot. :)

What you need:
  • Hpnotiq Harmonie ( 1 large shot)


Be sure to stay tuned as we will have more libations (both Doctor Who and non Doctor Who inspired) in the near future. Cheers!


Allons-y
       The Girls of Gallifrey


Sonic Screwdriver Pen


In honor of the 50th Anniversary of Doctor Who, we are going to be devoting some space on our blog to the Doctor himself. Our first tribute... a D.I.Y. Sonic Screwdriver pen!

All you need are the following supplies:
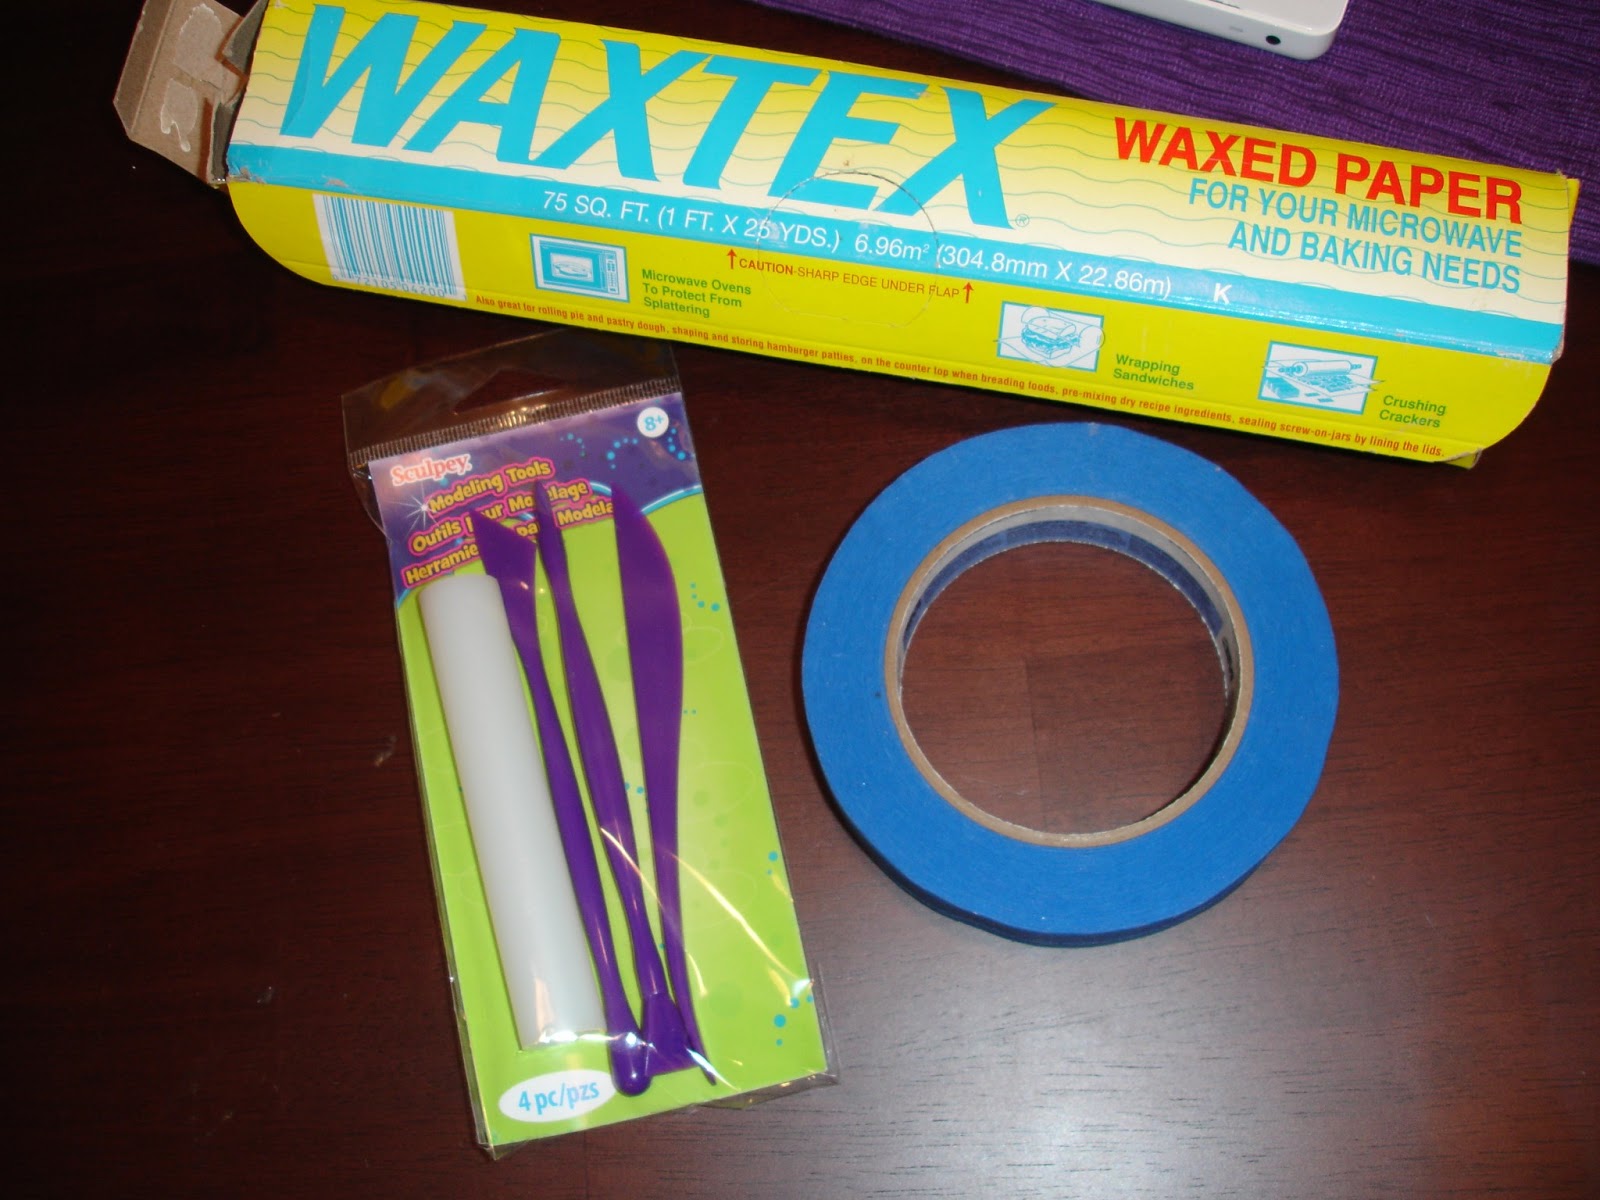
Tools:
-Scissors
-Permanent marker 
-Wax Paper
-Tape (We used painters tape)
-An oven (preheated to 225*)
-Baking sheet covered with parchment paper or aluminum foil
-Clay tools (optional- but they do make nice cuts, help you smooth things, etc)


Supplies:
-Polymer Clay (We purchased TARDIS Blue (FIMO calls it Brilliant Blue, Glow-in-the-Dark, Black, Metallic Pearl, and Metallic Silver)
-Pens (just be sure you can remove the inkwell) we chose PaperMate brand.
-Marbles (you may have a few spare ones, but if you have lost them all, you can purchase a bag from your local dollar store)


How to:
1) Start by removing the inkwell from the pens and cutting of the tab off of the cap.

2) Replace the cap on the pen and mark a line on the pen where the cap ends using the permanent marker. This is important as you will not want to put your clay below this mark because your pen won't close properly.


3) Now it's time for the clay... tape a piece of wax paper onto your workspace to keep it clean.

Our wax paper was a crack in time and space!


4) Choose which color clay you want to start with and use a piece roughly double the size of your marble. I decided to mix the Metallic Silver and Pearl. *If the clay seems to be hard at first, keep working with it to make it more playable, as it will warm with the heat of your hands.

5) Once you have your desired color, roll into a snake approximately 1/4" thick. Then coil around your pen making sure to stop at the line you drew for your cap. You can also see that we left a bit of the pen exposed on the end so that we could wrap with a different color. You can either leave it with the coiled look or smooth it out.


6) Next you will use the same technique to cover the cap, however, you want to coil a bit of the excess clay on top of the cap and create a tornado shape funnel on the top to hold the marble. Smoosh the tornado using your marble and wrap the marble with the clay (just be sure that you can see it, that is the sonic part!)


7) Continue to decorate your Sonic Screwdriver Pen using your favorite Doctor's Screwdriver as your inspiration, or create your own design! Just have fun!


8) When your pen is ready to bake (remember, your oven should be set at 225*), replace the cap and put on the covered baking sheet. Bake for 30 minutes. When done, allow to cool for 15 minutes, replace the inkwell, and VIOLA! You have your very own Sonic Screwdriver (Sound effects not included- but it is fun to make your own)!


Thank you for joining us for our Doctor Who D.I.Y. be sure to visit soon for some more Whovian fun!

Geronimo!
         The Girls of Gallifrey

Tuesday, June 18, 2013

Welcome to The Girls of Gallifrey Blog!

We are two awesome, Time Lord loving girls who felt the urge to share our many talents with all of space and time!  We go waaaayyyy back (okay, not that far back, it's not like we are 900 or anything) having first met in Junior High, but our friendship was sealed during our earthworm dissection in Freshman Biology class- EWWWWW! Although we lost touch for awhile, clearly our journey wasn't over. We reconnected and knew it was time to regenerate our friendship! We share a mutual love of teaching, trying out the many ideas we find on Pinterest (both mundane and crazy), and most importantly our obsession for Doctor Who! So jump in and travel with us on our blogging adventure. Our blog is bigger on the inside!