In honor of the 50th Anniversary of Doctor Who, we are going to be devoting some space on our blog to the Doctor himself. Our first tribute... a D.I.Y. Sonic Screwdriver pen!
All you need are the following supplies:
Tools:
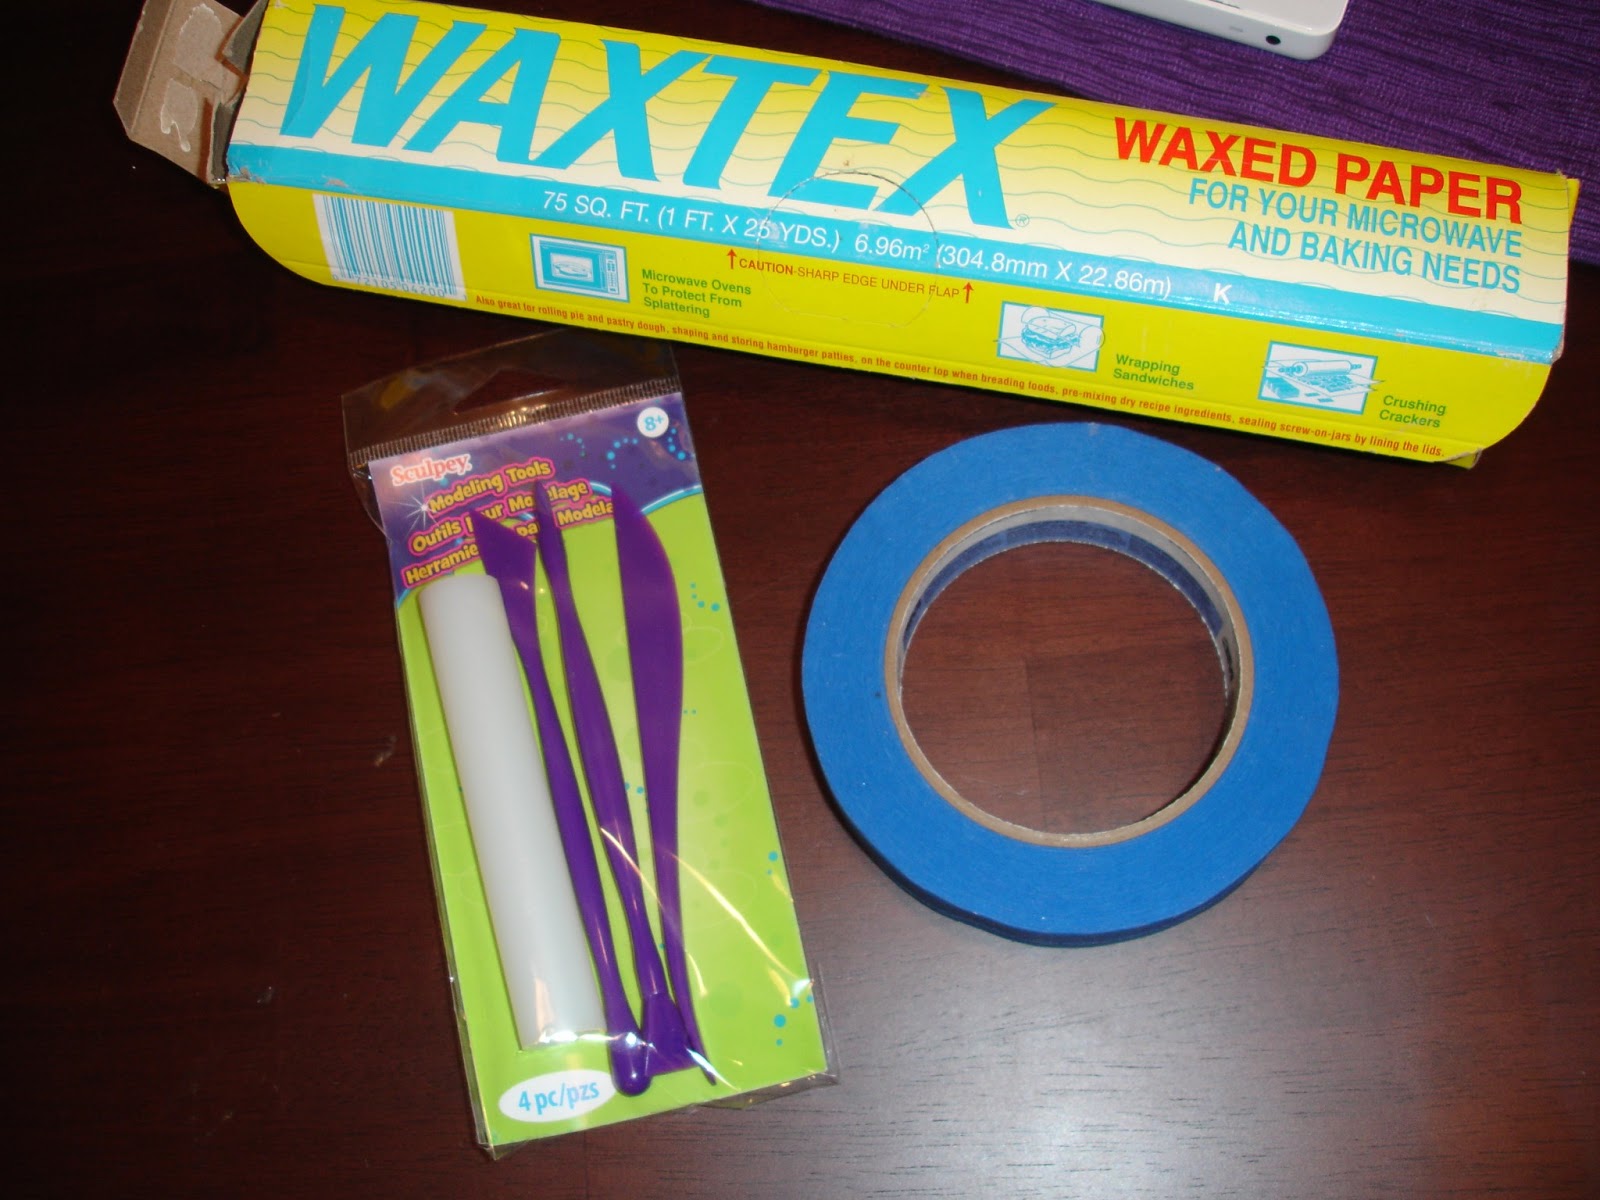
-Scissors
-Permanent marker
-Wax Paper
-Tape (We used painters tape)
-An oven (preheated to 225*)
-Baking sheet covered with parchment paper or aluminum foil
-Clay tools (optional- but they do make nice cuts, help you smooth things, etc)
Supplies:
-Polymer Clay (We purchased TARDIS Blue (FIMO calls it Brilliant Blue, Glow-in-the-Dark, Black, Metallic Pearl, and Metallic Silver)
-Pens (just be sure you can remove the inkwell) we chose PaperMate brand.
-Marbles (you may have a few spare ones, but if you have lost them all, you can purchase a bag from your local dollar store)
How to:
1) Start by removing the inkwell from the pens and cutting of the tab off of the cap.
2) Replace the cap on the pen and mark a line on the pen where the cap ends using the permanent marker. This is important as you will not want to put your clay below this mark because your pen won't close properly.
3) Now it's time for the clay... tape a piece of wax paper onto your workspace to keep it clean.
 |
| Our wax paper was a crack in time and space! |
4) Choose which color clay you want to start with and use a piece roughly double the size of your marble. I decided to mix the Metallic Silver and Pearl. *If the clay seems to be hard at first, keep working with it to make it more playable, as it will warm with the heat of your hands.
5) Once you have your desired color, roll into a snake approximately 1/4" thick. Then coil around your pen making sure to stop at the line you drew for your cap. You can also see that we left a bit of the pen exposed on the end so that we could wrap with a different color. You can either leave it with the coiled look or smooth it out.
6) Next you will use the same technique to cover the cap, however, you want to coil a bit of the excess clay on top of the cap and create a tornado shape funnel on the top to hold the marble. Smoosh the tornado using your marble and wrap the marble with the clay (just be sure that you can see it, that is the sonic part!)
7) Continue to decorate your Sonic Screwdriver Pen using your favorite Doctor's Screwdriver as your inspiration, or create your own design! Just have fun!
8) When your pen is ready to bake (remember, your oven should be set at 225*), replace the cap and put on the covered baking sheet. Bake for 30 minutes. When done, allow to cool for 15 minutes, replace the inkwell, and VIOLA! You have your very own Sonic Screwdriver (Sound effects not included- but it is fun to make your own)!
Thank you for joining us for our Doctor Who D.I.Y. be sure to visit soon for some more Whovian fun!
Geronimo!
The Girls of Gallifrey


OMG LOVE IT ;D
ReplyDelete